
Look at the 6 steps below and follow the pictures.
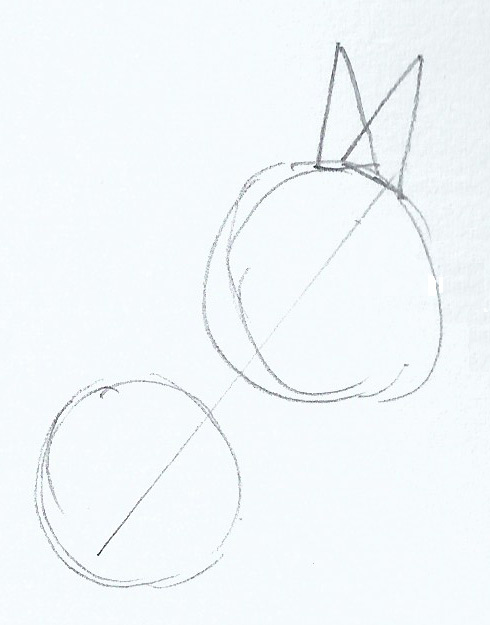 Step1: Start with his head… the best way to draw Roy's head is to lightly draw a line at the angle you'd like his head. Then lightly draw a circle at the bottom of the line and the top, make the top circle slightly bigger, just like in this picture, add two triangles for his ears:
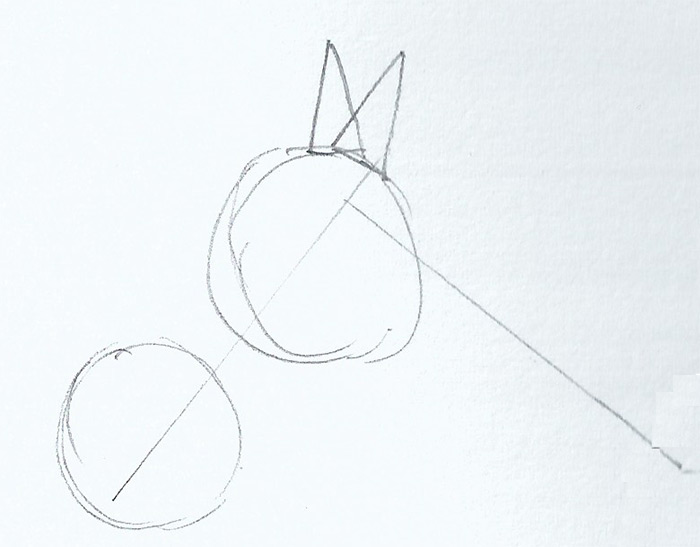 Step 2: Roy's neck… next draw a light line for his neck, it should be about the same length as his head starting from just below the top of the head line:
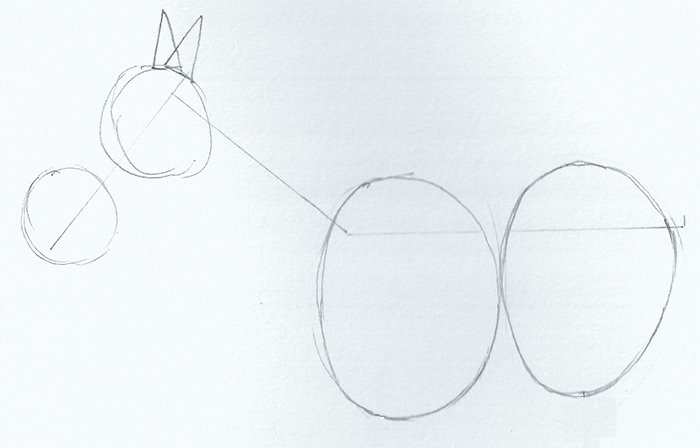
Step 3: Roy's body… draw a light line from Roy's neck to where his tail starts, it should be about 1 and a half times longer than Roy's head, draw two light ovals over the top of it, like this picture...
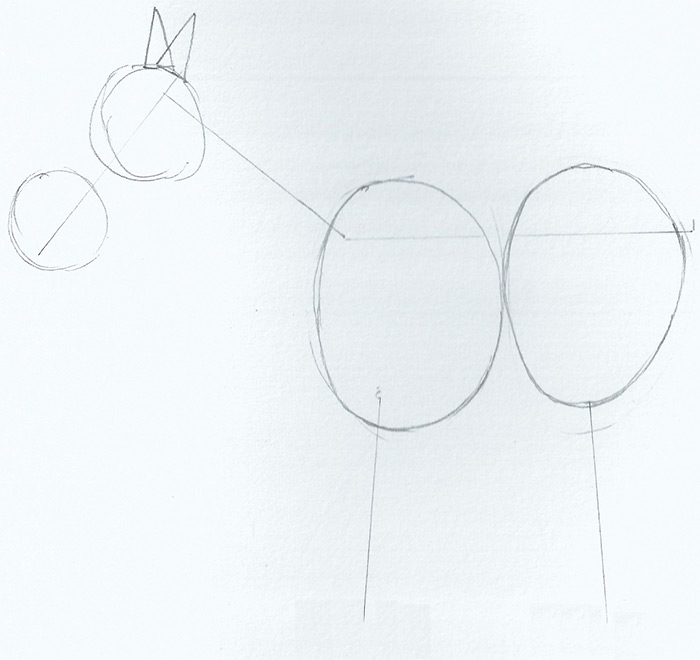
Step 4: Roy's legs… near to the bottom of the ovals, draw some light lines downwards, about the same length as Roy's head…
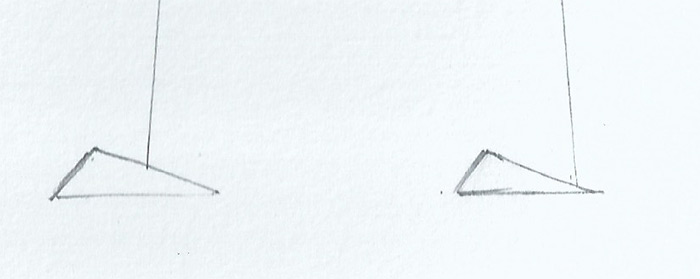
Step 5: Roy's feet… draw small triangles at the bottom of Roy's legs like in this picture...

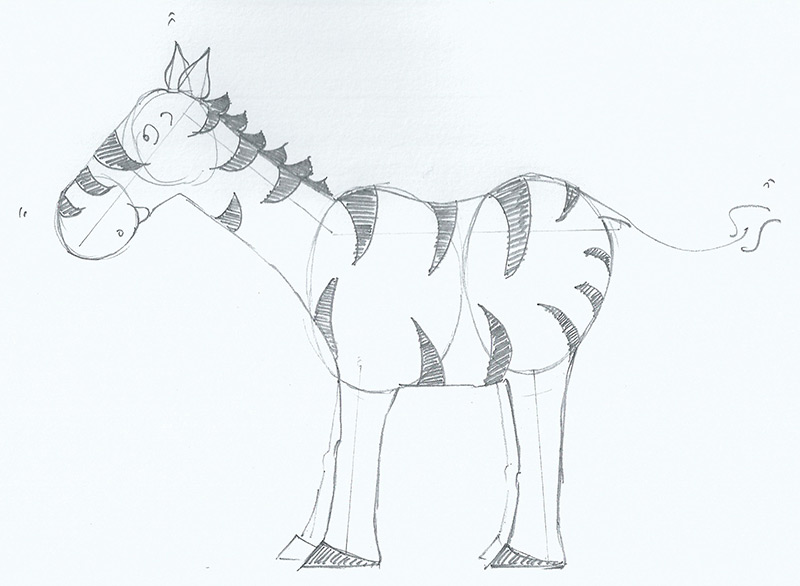
Step 6: Roy's eyes and mouth… add Roy's curly eye near to the bottom of the top circle on Roy's head, add Roy's mouth on the bottom circle as in the sketch on the left...
Then all we have to do is to draw roughly around using the above objects as a guide, you should then see all of Roy… add his stripes, the hair on his neck plus tail and you're done!
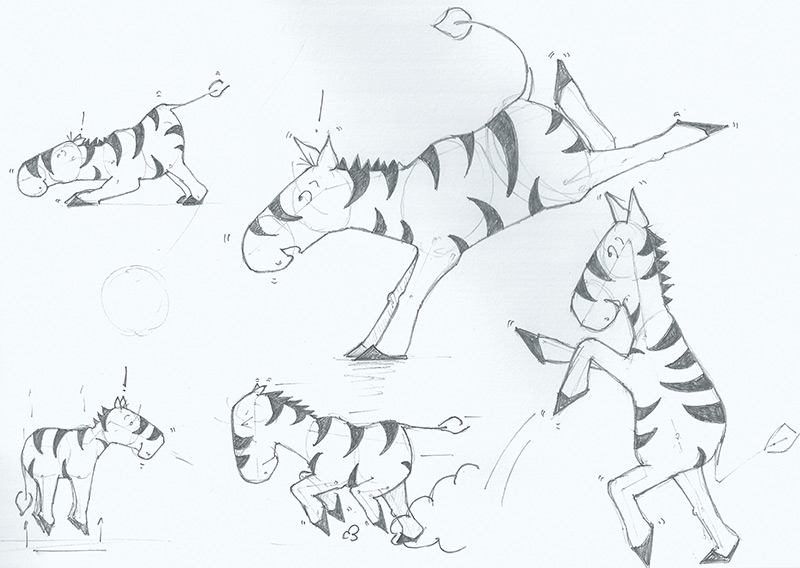
Here are some extra pictures of zebras I've done in different positions… you can see the the lightly drawn bits… try drawing Roy in lots of different positions:

Have fun...

No comments:
Post a Comment